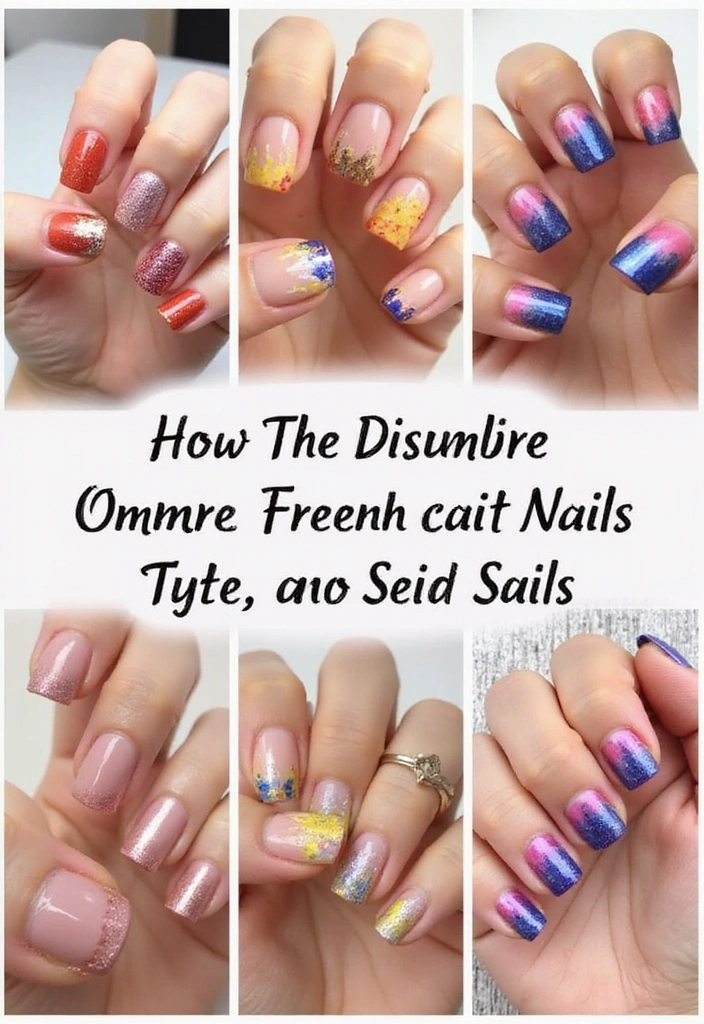
Master stunning nail art! Discover 9 incredible Ombre French Nail Techniques guaranteed to leave you breathless with their beauty. Get ready to transform your manicure – definitely learn technique #3!
If you’re looking to elevate your nail game, Ombre French Nails might just be the perfect fit for you. This trendy take on the classic French manicure adds a playful twist by blending colors in a stunning gradient.
Whether you’re going for a subtle look or something bold, the possibilities are endless. From soft pastels to vibrant hues, Ombre French Nails can be customized to match any outfit or occasion. This article will take a closer look at 9 unique Ombre French nail techniques that will transform your manicure from ordinary to extraordinary. Get ready to be inspired and transform your nails into a canvas of art!
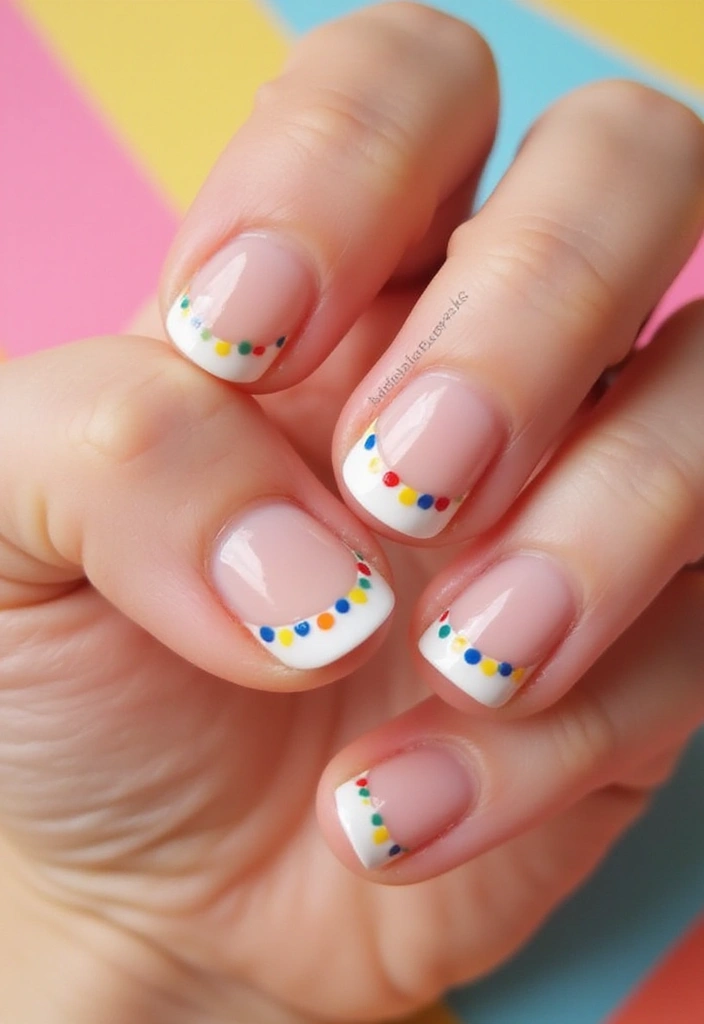
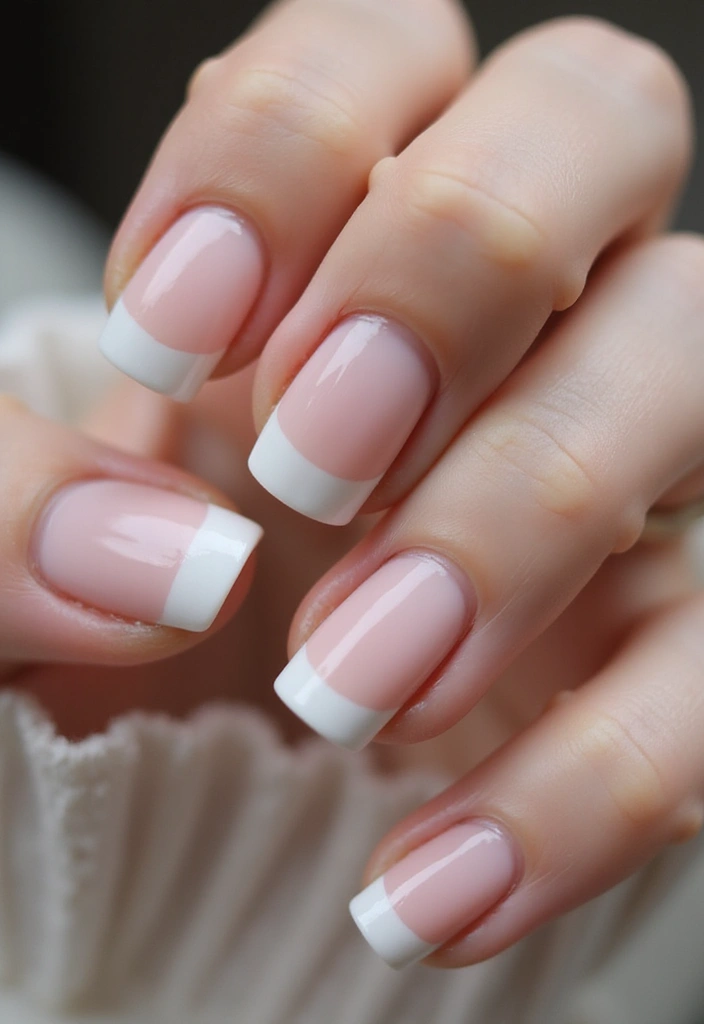
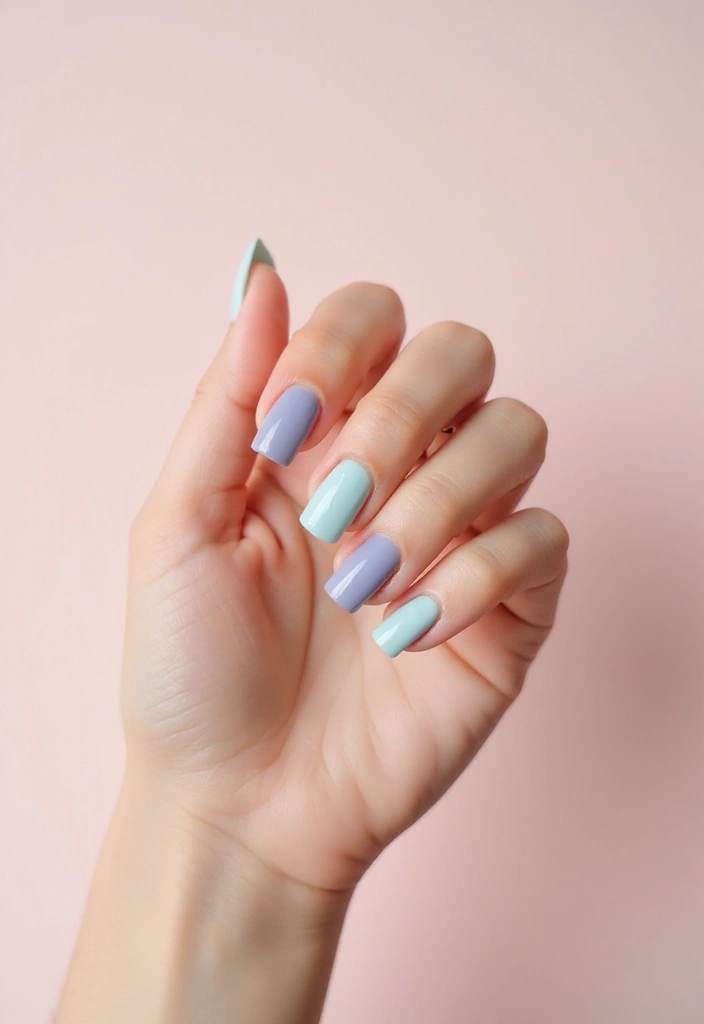
1. Classic Pastel Ombre
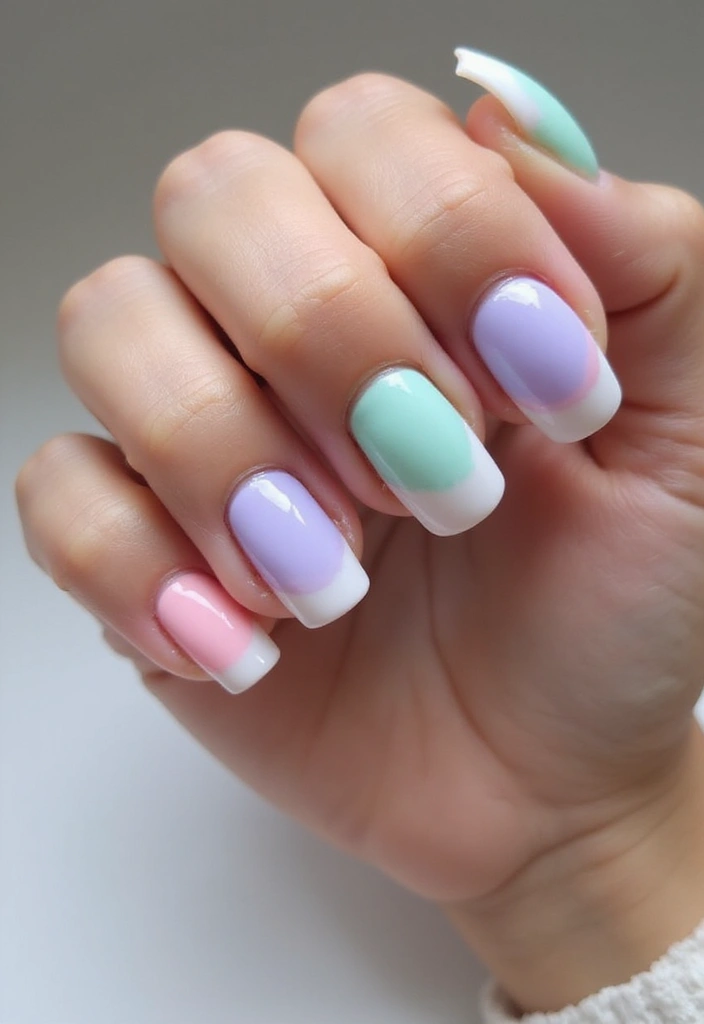
The Classic Pastel Ombre is perfect for those who prefer a softer, more delicate look. This technique blends light pink, lavender, and mint green, creating a dreamy effect.
To achieve this, start with a clean base coat, and then apply a light shade of color at the tip. Blend it into a deeper hue using a makeup sponge for a smooth transition. This technique not only looks great but also feels refreshing, making it ideal for spring or summer.
Consider pairing your pastel Ombre with a glossy top coat for a chic finish. Plus, it’s great for any occasion, whether you’re heading to brunch with friends or a casual day out.
– Use a sponge for seamless blending.
– Experiment with different pastel combinations.
– Don’t forget the top coat for extra shine.
2. Neon Ombre French
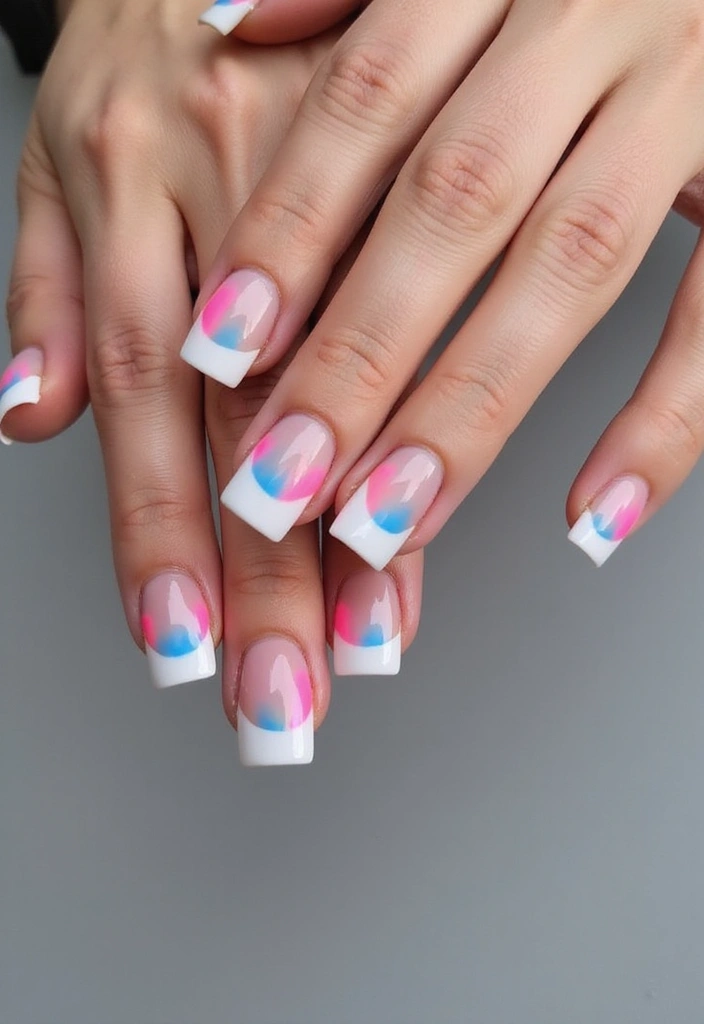
For those who love to make a statement, the Neon Ombre French is a standout choice! This bold technique features vibrant colors like hot pink, electric blue, and neon green, blending seamlessly into a crisp white tip.
To pull this off, apply a white base coat, allowing it to dry completely. Then, use a sponge to layer on your neon colors for a fun, eye-catching gradient. This look is perfect for summer festivals or party nights where you want your nails to pop.
Pair these nails with some funky accessories for added flair, and you’ll definitely turn heads.
– Choose colors that contrast well for maximum impact.
– Mix and match different neon shades for a unique twist.
– Top with a matte finish for a modern look.
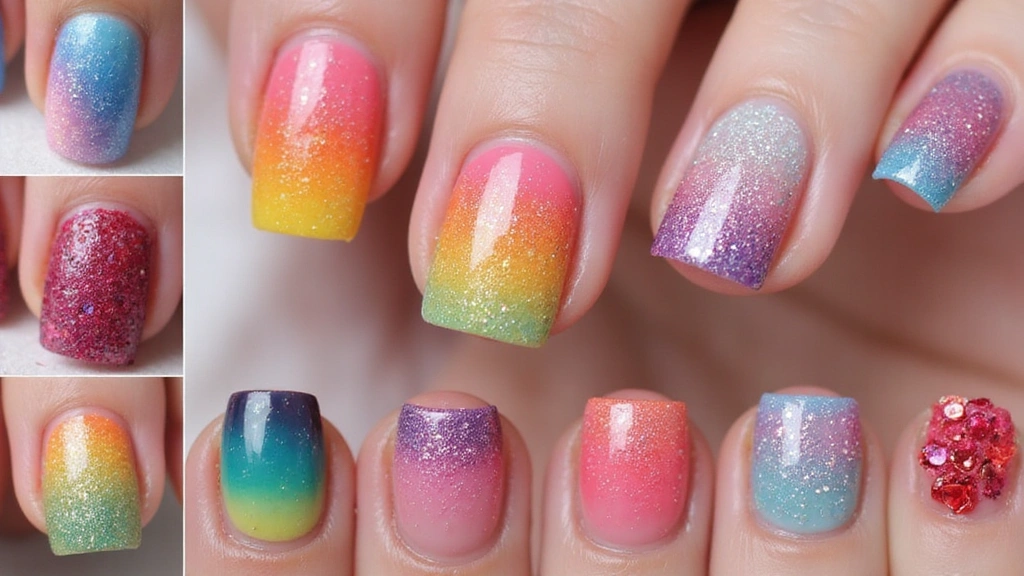
3. Glitter Ombre Delight
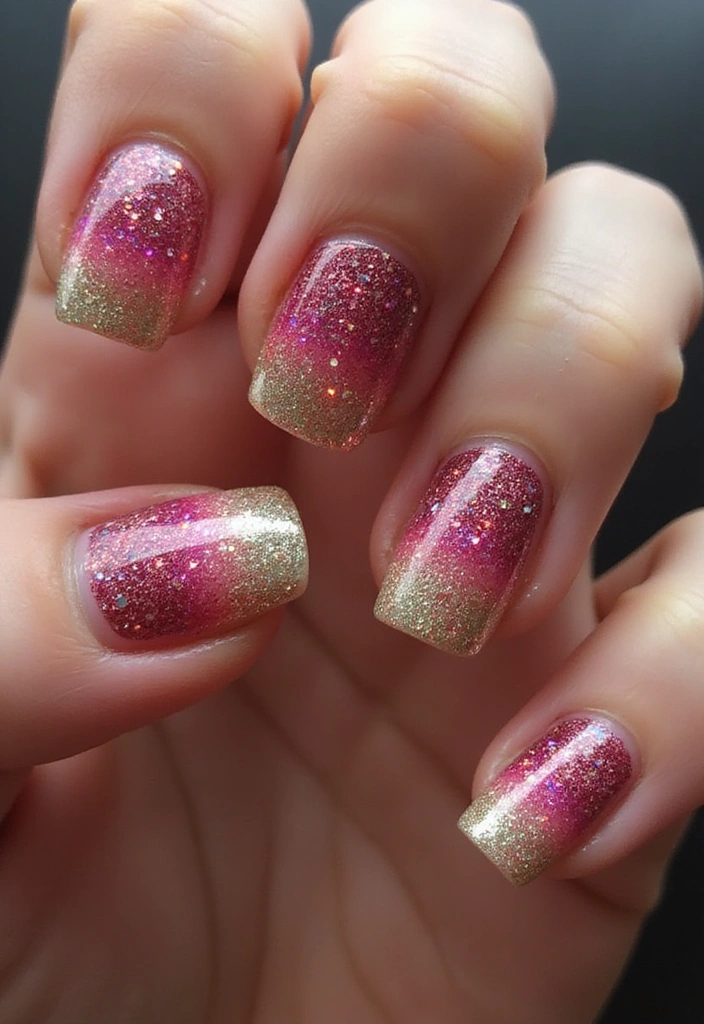
If you adore a bit of sparkle, the Glitter Ombre Delight is your go-to! This stunning technique combines a gradient of colors with shimmering glitter that adds an extra dimension to your nails.
Begin with a solid color base, and then gradually apply glitter starting from the tip down towards the middle of the nail, creating a beautiful gradient effect. The glitzy shine will catch the light at every angle, making your nails stand out even more. This look is perfect for special occasions, parties, or any time you want to feel fabulous.
Don’t shy away from experimenting with different glitter colors and intensities to find your perfect match!
– Apply a clear base before the glitter for a smoother finish.
– Use fine glitter for a subtle sparkle or chunky glitter for a bold effect.
– Seal with a top coat to keep the glitter in place and enhance shine.
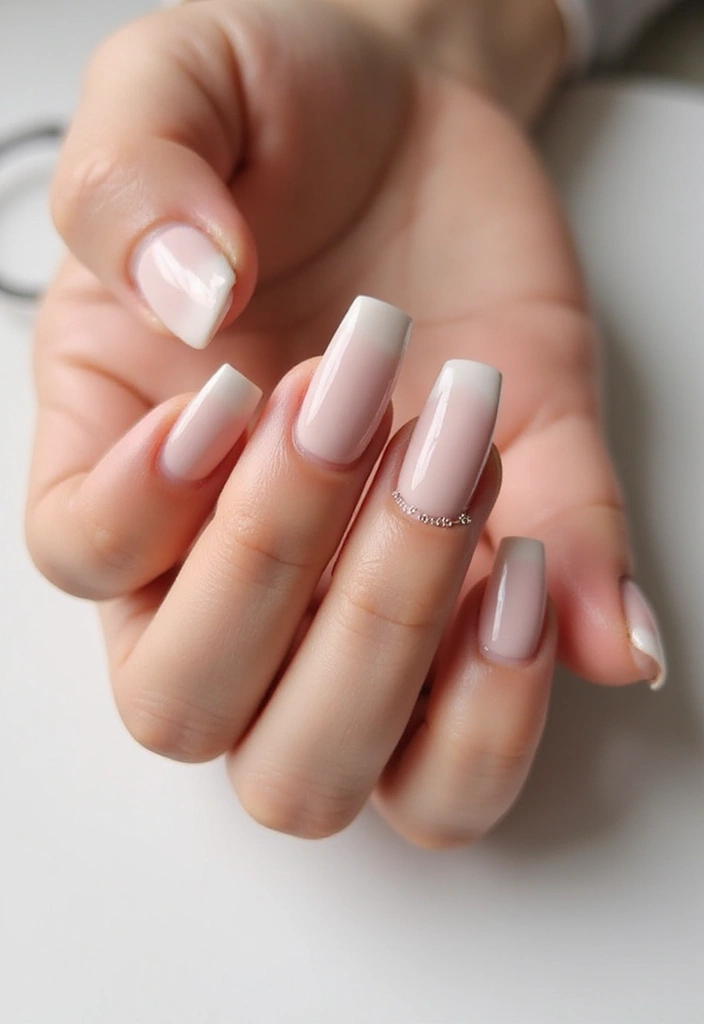
4. Dark Ombre Elegance
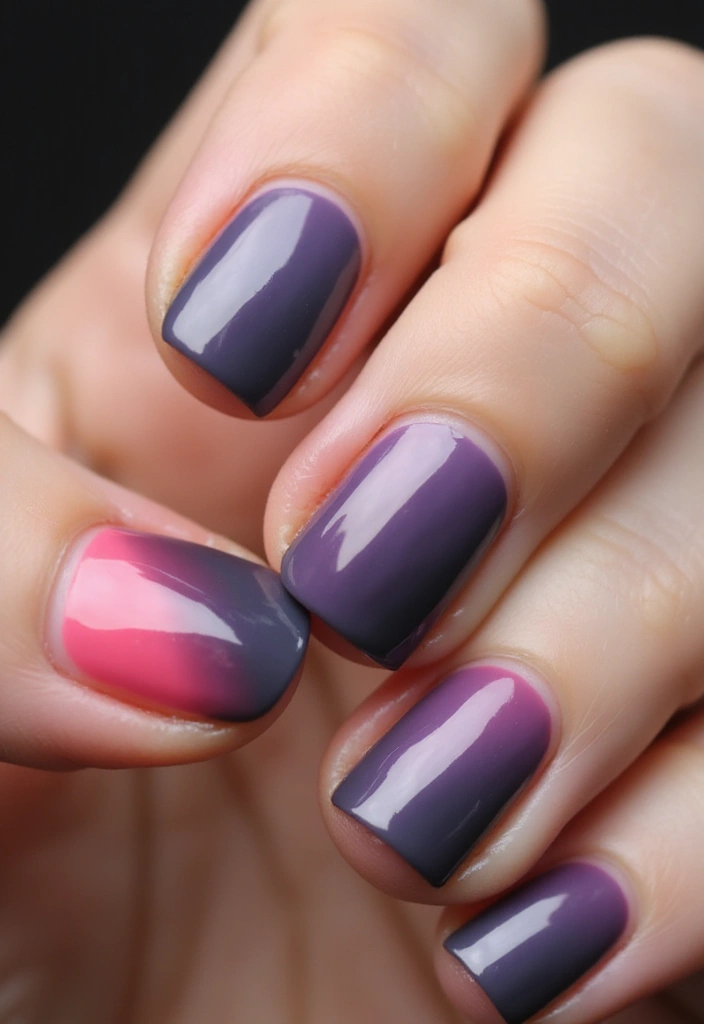
The Dark Ombre Elegance is an excellent choice for those who love dramatic flair. This technique involves blending deep colors like navy, burgundy, and black for a sophisticated look.
Start with a light base color and use a sponge to apply the darker shades at the tips, blending them gradually towards the cuticle. This ombre effect is striking and perfect for evening outings or formal events.
Don’t forget to add a glossy top coat to enhance the colors and provide a sleek finish. This design works beautifully with minimalist outfits or when you want your nails to be the center of attention.
– Opt for colors that complement each other for a cohesive look.
– Try mixing textures by adding matte and glossy finishes.
– Use nail art tape to create sharp lines if you prefer a more structured look.
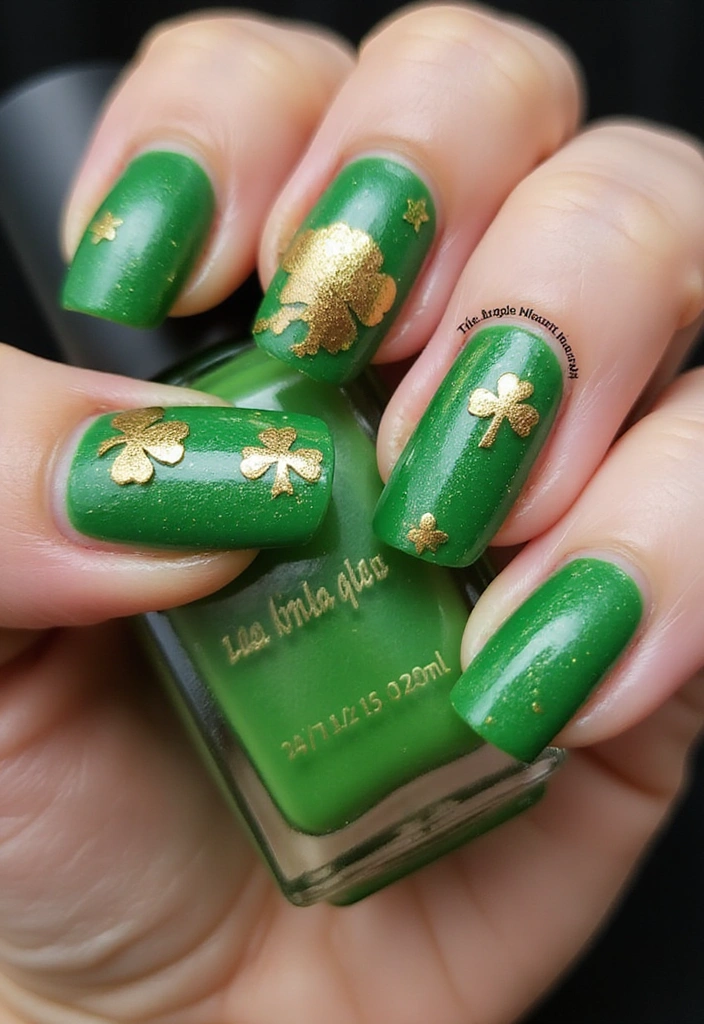
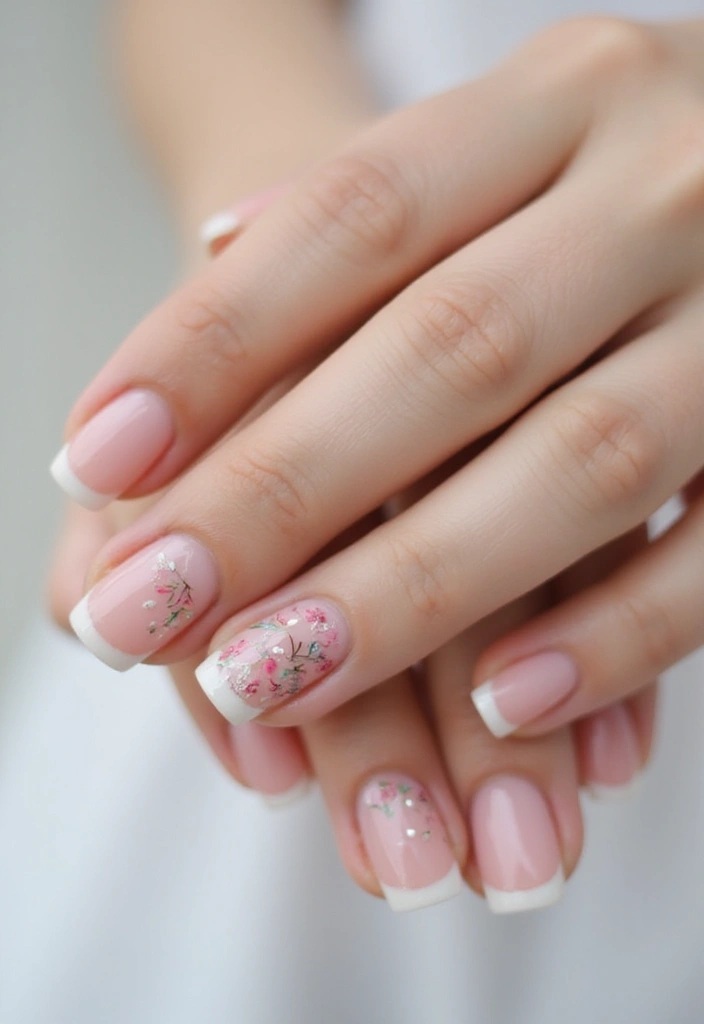
5. Floral Ombre Charm
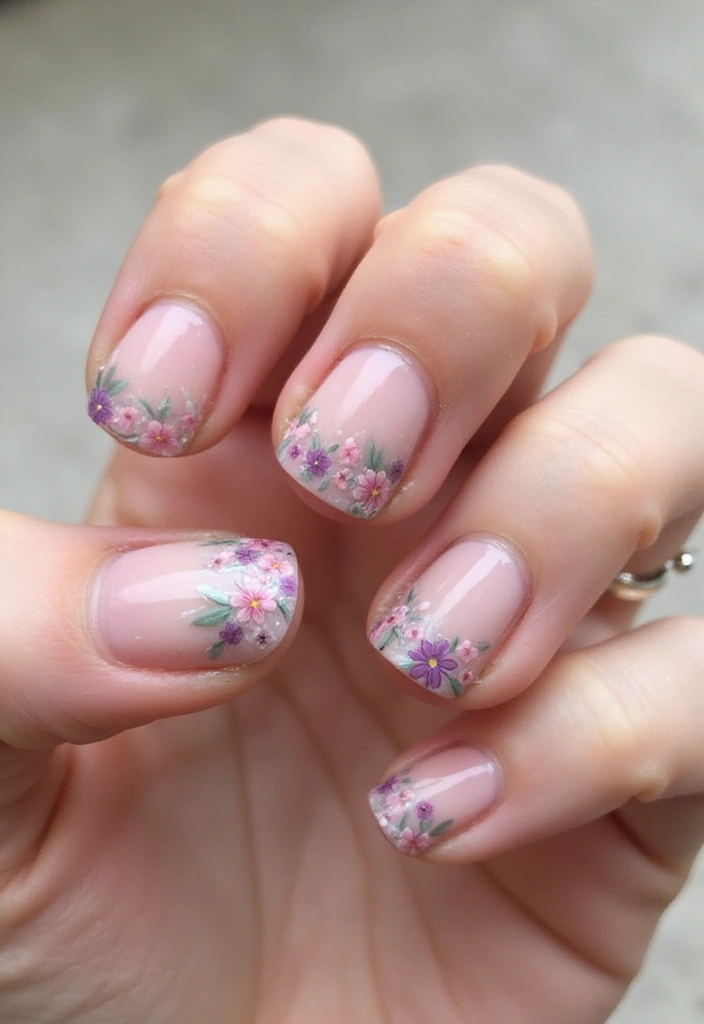
Floral Ombre Charm combines delicate floral designs with a beautiful ombre effect, making it a great option for lovers of nature. This technique usually features soft colors like peach, pink, and cream, accented with hand-painted flowers.
Start with a light base coat and create the ombre effect using a sponge. Once that’s dry, carefully paint small flowers and leaves near the cuticle area. This design can be perfect for weddings or garden parties, adding a touch of romance to your look.
Make sure to seal your artwork with a high-gloss top coat to keep the flowers vibrant and protected from chipping.
– Use a dotting tool for precise flower center details.
– Try different floral patterns to personalize your nails.
– Pair this design with soft, flowing outfits for a cohesive look.
6. Ombre Marble Effect
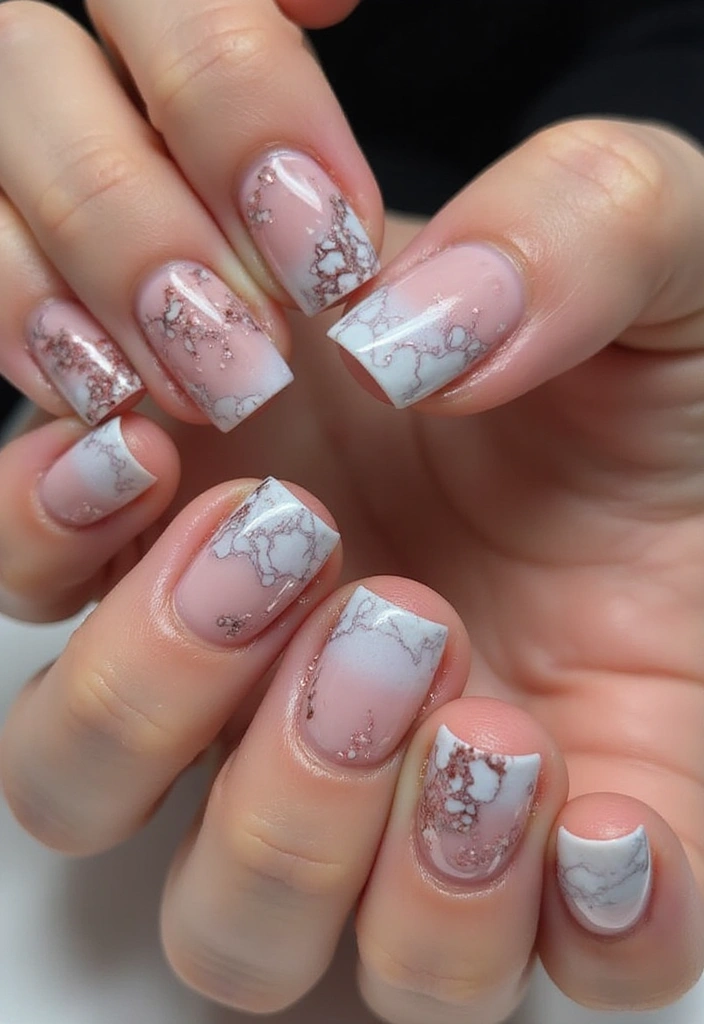
The Ombre Marble Effect is a trendy technique that mimics the beauty of real marble in your nail art. This unique method combines a stunning gradient with marble detailing for a luxurious finish.
To achieve this look, start with a light base color. Then, use a thin nail art brush to create swirls of a darker shade mixed with white to emulate marble patterns. The result is a breathtaking blend of colors that looks incredibly chic and sophisticated. Ideal for formal events or whenever you want a touch of elegance!
Remember to apply a top coat to seal the design and enhance its shine.
– Experiment with different color combinations to create your marble effect.
– Use different brush techniques to vary the marble patterns.
– This design pairs well with gold or silver accents for an upscale look.
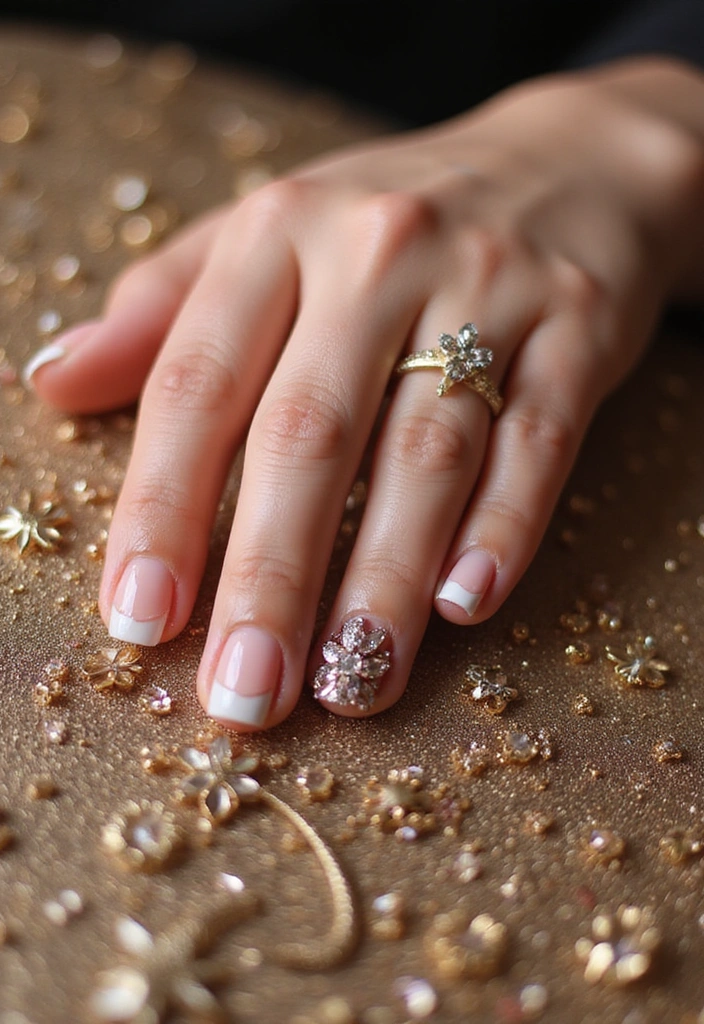
7. Ombre With Rhinestones

For those who love a little glam, Ombre With Rhinestones takes your nail game to the next level! This technique combines a beautiful ombre effect with eye-catching rhinestones for a touch of sparkle and shine.
Start with your desired ombre gradient, and once that’s dry, carefully apply rhinestones in varying sizes near the cuticle or randomly throughout the nail for a fun look. This design is perfect for parties, birthdays, or any special occasion where you want to shout glam!
Don’t forget to use a strong top coat to keep the rhinestones securely in place.
– Choose rhinestone colors that complement your ombre shades.
– Mix sizes for a more interesting design.
– Make sure to apply them while the top coat is still tacky for better adhesion.
8. Ombre Animal Print
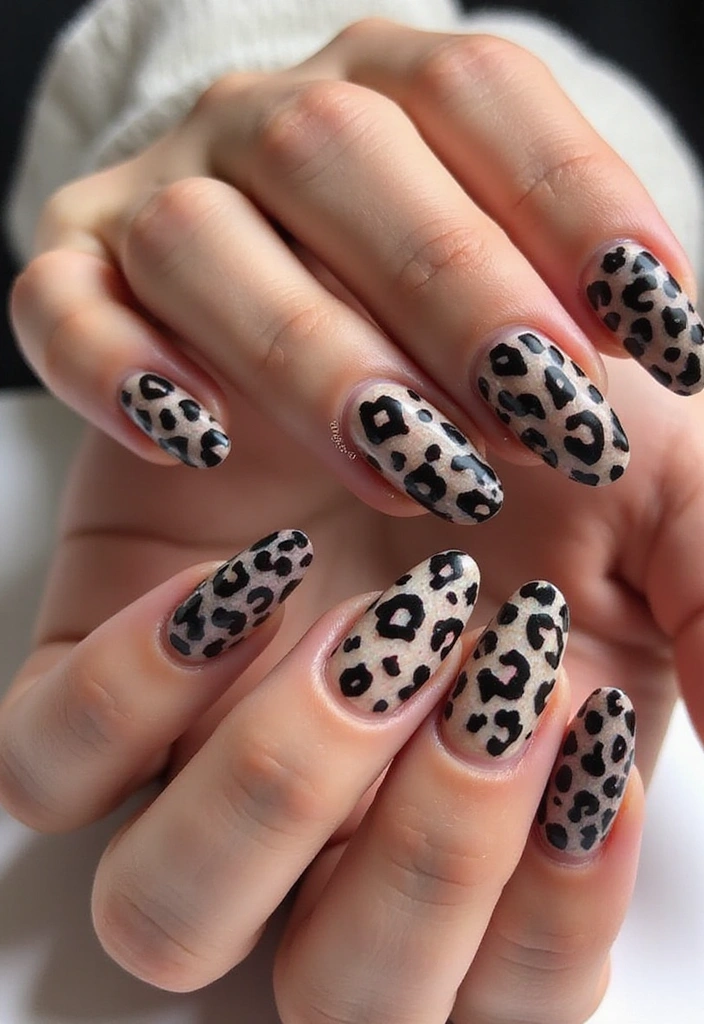
If you’re feeling fierce, the Ombre Animal Print technique lets you express your wild side! This trendy nail art style combines a stunning gradient with animal print designs like leopard or zebra.
Start with an ombre base, transitioning from light to dark shades. Once dry, use a thin nail brush to add the animal print designs. This edgy style is perfect for a night out or when you want to show off your unique personality.
Consider adding a matte top coat for a modern twist on this fun design.
– Mix different animal prints for a creative flair.
– Experiment with unexpected colors for a unique look.
– Use nail art tape to create clean lines.
9. Ombre Geometric Designs
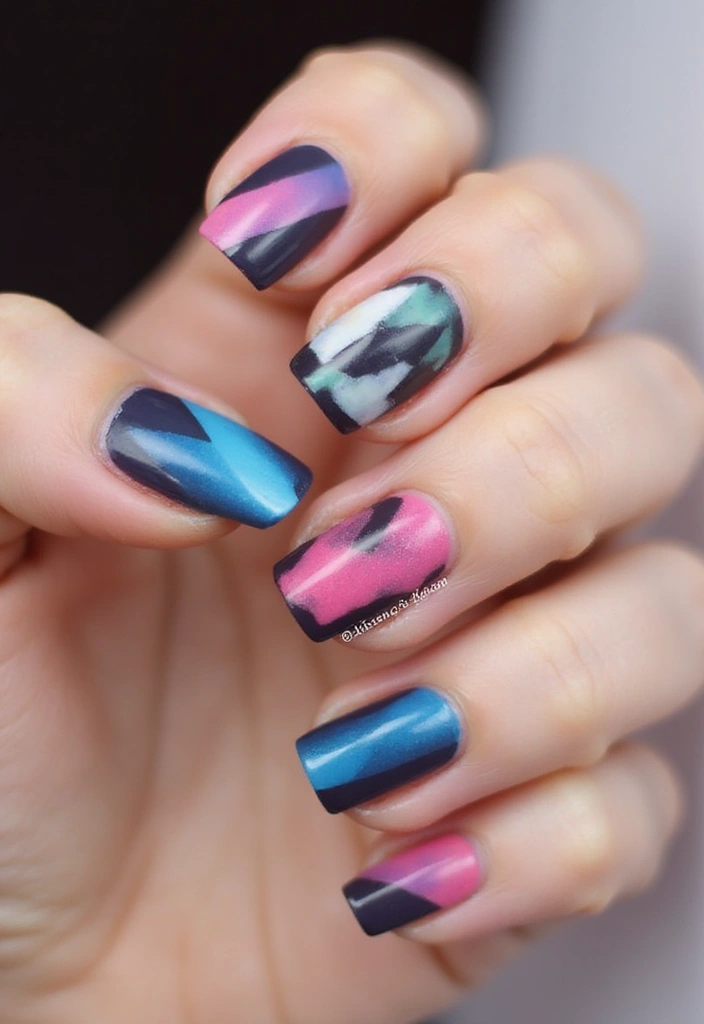
Ombre Geometric Designs add a bit of modern art to your nails! This technique combines a smooth gradient with fresh geometric shapes for a chic, contemporary look.
Start with your chosen ombre base color, then use nail tape to create clean geometric shapes on your nails. Fill in the shapes with complementary colors to enhance the overall design. This stunning style is perfect for those who love to stay ahead of trends and want a polished, sophisticated look.
Seal it all with a glossy top coat to make those colors pop!
– Use contrasting colors for a more vibrant effect.
– Experiment with different shapes like triangles, squares, or lines.
– This design can easily transition from day to night.
Finally
Ombre French Nails offer a diverse range of options that cater to every personality and occasion. From soft pastels to bold neons or elegant marble designs, there’s an Ombre technique for everyone!
Whichever style you choose, these innovative nail art techniques are sure to make your nails a stunning statement piece. Happy manicuring! Don’t forget to share your creations and tag your favorite ones!