Boost your smartphone photography skills with this ultimate guide! Learn expert tips on lighting, settings, composition, and editing to capture stunning images every time.
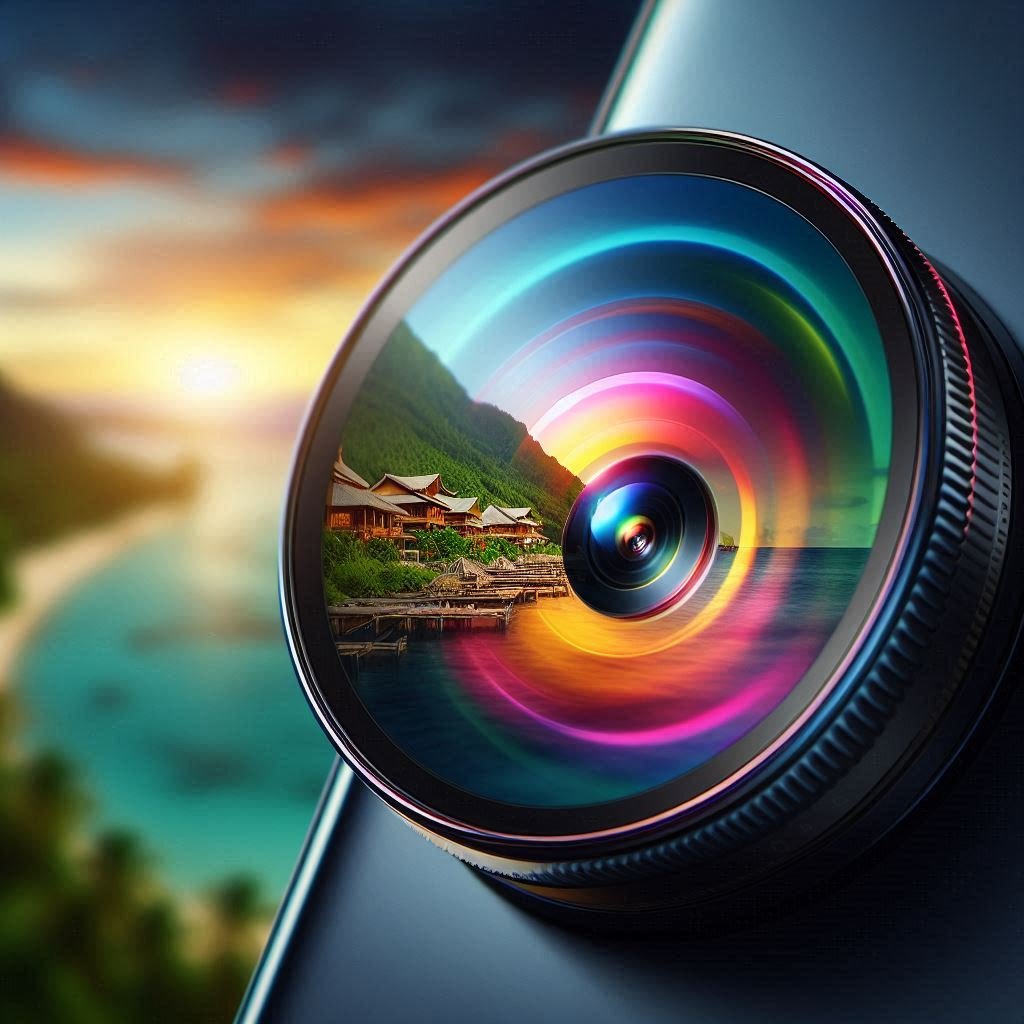
Smartphone Photography
Smartphone photography has become key in our digital lives. It lets us share moments instantly. Knowing how to improve your camera quality is very important.
Smartphones are now our go-to cameras. They have advanced tech for taking great photos. Learning how to use these features can make a big difference in your photos.
Photos capture our memories and stories. Learning about lighting, angles, and settings can make your photos better. This guide will help you improve your smartphone camera skills.
As we explore smartphone photography, you’ll learn easy tips. These tips can help anyone take better photos that show their creativity.
Understanding Your Smartphone Camera Settings
Smartphone cameras offer many settings to improve your photos. Knowing about exposure, white balance, and ISO is key. Each setting affects the quality of your images.
Exposure controls how much light your camera gets. Adjusting it helps with brightness in your photos. Lower exposure in bright light and higher in dark light can make your photos clearer.
White balance affects the colors in your photos. It ensures colors look natural. Smartphones have preset options for different lighting conditions, improving your photos’ colors.
ISO settings affect your camera’s light sensitivity. Lower ISO is best for bright light, while higher ISO is for dark light. But, higher ISO can add graininess.
Features like HDR and grid lines can also improve your photos. HDR captures more detail in shadows and highlights. Grid lines help with composition. Knowing these settings can make your photos better.
Optimal Lighting Conditions for Stunning Photos
Lighting is key in photography. The right light can make your photos stand out. Knowing about different lighting types is important.
Natural light is the best for photos. The golden hour, just after sunrise and before sunset, is perfect. It gives a soft, warm light that’s great for portraits and landscapes.
Lighting and Composition for Better Smartphone Photos
Lighting is key for great photos. In bright sunlight, shadows and overexposed areas can ruin your shots. To fix this, use shaded spots or reflectors to add light.
For dark places, smartphones have night modes or exposure settings. These help get clearer photos. Also, carrying a light source like a flashlight can improve your shots.
Harsh sunlight can cause problems. Try shooting in the shade or use reflectors. Adjusting camera settings can also help get better photos in tough light.
Knowing about lighting and using these tips can make your photos better. Good lighting leads to stunning photos that people love.
Composition Techniques for Better Shots
Good composition makes your photos stand out. The Rule of Thirds is a key technique. It divides your image into nine parts, helping you place subjects for balance.
Many phones have a grid feature to help with this. It makes your photos more interesting and dynamic.
Leading lines are another great technique. They guide the viewer’s eye to your subject. Roads, paths, and rivers are perfect for this.
Using leading lines well adds depth to your photos. It makes your shots more engaging.
Symmetry is also powerful. It creates harmony and balance in your photos. Look for reflections or natural symmetry in your shots.
By using the Rule of Thirds, leading lines, and symmetry, you improve your photos. These techniques make your shots more dynamic and visually appealing.
Taking Advantage of Smartphone Camera Modes
Smartphones have many camera modes for different situations. Knowing these modes can make your photos better. Common modes include Portrait, Night, Macro, and Pro.
Portrait mode is great for people shots. It blurs the background, making your subject stand out. Make sure there’s enough light and the subject is far enough from the background.
Night mode is perfect for dark places. It takes longer exposures to brighten your photos. Keep your phone steady to avoid blurring.
Macro mode is for close-up shots. It shows details you can’t see with the naked eye. Keep your hand steady and play with angles for the best shot.
Pro or Manual mode lets you control settings like ISO and exposure. It’s useful for specific effects or tough lighting. Trying out these modes can help you improve your photos.
Editing Your Photos Like a Pro
Editing your photos is key to making them look better. You can use apps like Adobe Lightroom, Snapseed, and VSCO to do this. These apps have many features to help you improve your photos.
Start by picking a photo to edit. First, adjust the exposure to balance the light and dark parts. Most apps have a slider for this. Make sure your photo looks good in both bright and dark areas.
Then, work on the color balance. This is important for making your photo look natural. Use a temperature slider to adjust the colors. A good color balance makes your photo look real.
Next, consider cropping your photo. Cropping helps focus on your subject. Use the rule of thirds to place your subject off-center. This makes your photo more interesting.
Don’t forget about filters, sharpening, and noise reduction. These can add mood, details, and clarity to your photos. Trying out these features can really improve your photos.
Advanced Tips for Pro-Level Photography
To take better photos, try advanced techniques. Long exposure photography is one way to capture motion. It can make waterfalls look blurred or light trails from cars look cool. Use your phone’s night mode or apps for manual control. A tripod helps keep your phone steady.
Time-lapse photography is another cool technique. It shows fast changes in a short video. You can capture clouds moving, city life, or flowers blooming. Most phones have a time-lapse feature. Play with different settings to get cool effects.
High Dynamic Range (HDR) photography is also useful. It captures more light in your photos, showing both shadows and highlights. HDR can make your photos look amazing, even in tough lighting. Check if your phone has an HDR mode.
For more creativity, try using extra lenses or gimbals. Wide-angle or macro lenses can give you new views. Gimbals help make your videos smooth. Experiment with these tools to improve your photos and videos.
Maintaining Your Smartphone Camera
To keep your smartphone camera working well, regular care is key. A clean camera lens improves photo quality and extends your device’s life. Use a soft cloth or a lens cleaning solution to avoid scratches.
Managing storage is also important. High-quality photos take up a lot of space. Delete old photos and transfer important ones to cloud storage. This keeps your phone running smoothly.
Knowing when to get professional help is also important. If your camera has problems like blurry photos, it might need repair. Getting it fixed early can prevent more damage.
So, to keep your camera in top shape, clean it regularly, manage storage well, and seek help when needed. These steps will make your photos better and keep your phone working well.
Call to Action
Improving your smartphone camera takes practice and knowledge. This guide has shown you many ways to take better photos. From composition to editing, each step is important for great photos.
Remember, the best photos come from trying new things. Experiment with different angles and lighting. Smartphone cameras are versatile, so keep exploring and learning.
Use what you’ve learned to take your photos to the next level. Share your photos and learn from others. This community supports and encourages each other, helping everyone improve.
In conclusion, improving your smartphone camera is a fun journey. Your effort will lead to amazing photos. So, keep practicing and enjoy the process!
From Blurry Snapshots to Stunning Memories
A few years ago, I was unhappy with my smartphone photos. They were dull and blurry. But then, I started learning about smartphone photography.
By tweaking settings and experimenting with lighting, my photos got much better. I learned that great photos come from knowing how to use your smartphone camera.
Quote
“Every snapshot holds a story; learning to use your smartphone camera well ensures that story is told beautifully.”
— Imran Jakhro – Global Thinker
Ultimate Guide to Improving Your Smartphone’s Camera Quality
- Understand Your Camera Settings
- Tips: Adjust exposure, white balance, and ISO for better control over light and color.
- Feature to Try: Use HDR mode to balance shadows and highlights.
- Master Lighting Conditions
- Tips:
- Shoot during golden hour for warm, diffused light.
- Use night mode in low-light conditions.
- Avoid harsh midday sun or find shade to reduce strong shadows.
- Tips:
- Apply Composition Techniques
- Tips:
- Use the Rule of Thirds for balanced shots.
- Find Leading Lines to guide the viewer’s eye.
- Embrace Symmetry for harmonious compositions.
- Tips:
- Utilize Camera Modes
- Portrait Mode: Creates a blurred background for professional-looking portraits.
- Night Mode: Enhances low-light shots.
- Macro Mode: Captures detailed close-ups of small objects.
- Enhance with Editing Tools
- Top Apps: Adobe Lightroom, Snapseed, VSCO.
- Key Edits:
- Adjust exposure and color balance.
- Crop for better composition.
- Apply filters sparingly to enhance mood.
10 FAQs
- How can I make my smartphone photos look more professional?
Use techniques like the Rule of Thirds, proper lighting, and post-editing. - What is the best time of day to take photos?
The golden hour (early morning or late afternoon) offers the best natural lighting. - Why are my photos blurry, and how do I fix it?
Keep a steady hand or use a tripod. Clean your lens and ensure focus is sharp. - What does HDR mode do?
HDR balances light and dark areas by combining multiple exposures. - How do I improve low-light photography?
Use night mode and avoid using the flash if possible. Stabilize your phone. - Are editing apps necessary for good photos?
They’re not necessary but can significantly enhance your images. - How can I avoid overexposed photos in bright light?
Lower the exposure setting and shoot in the shade if possible. - What’s the advantage of using external lenses?
They provide creative flexibility like wide-angle or macro shots. - How do I maintain my smartphone camera?
Clean the lens regularly, manage storage, and update software. - What is long exposure photography, and when should I use it?
It captures motion over time and is great for light trails or waterfalls.
10 Credible References
- Adobe – Smartphone Photography Tips
https://www.adobe.com/creativecloud/photography/discover/smartphone-photography.html - National Geographic – Master Mobile Photography
https://www.nationalgeographic.com/photography/article/smartphone-photography - Apple – iPhone Photography Techniques
https://www.apple.com/iphone/photography - Google – Pixel Camera Tips
https://support.google.com/pixelphone/answer/9130470 - Snapseed – Photo Editing Guide
https://snapseed.online - Digital Trends – Best Smartphone Camera Settings
https://www.digitaltrends.com/photography/smartphone-camera-tips - Photography Life – Understanding Exposure
https://photographylife.com/what-is-exposure - VSCO – Creative Editing Tools
https://vsco.co - Wired – The Best Smartphone Photography Accessories
https://www.wired.com/story/best-smartphone-camera-accessories - CNET – Improve Your Phone’s Low-Light Photography
https://www.cnet.com/how-to/how-to-improve-your-smartphone-low-light-photos
Explore More Insights
- ZYNTRA.io – Innovations in tech and resilience await you!
- TrendNovaWorld.com – Your guide to the latest lifestyle updates!